Loading... <div class="tip share">请注意,本文编写于 71 天前,最后修改于 71 天前,其中某些信息可能已经过时。</div> # 前言 不知道写什么.... 之前搭建这个纯属为了保留一些有趣的内容,或是传一下链接、文件什么的搭建的...... 原本的服务器上不去了,为防止哪天数据没了,遂打算全新“转移”到自己的物理机上来(官方支持备份转移,不过因为原本的有垃圾,所以打算重装,手动转移) # 项目展示 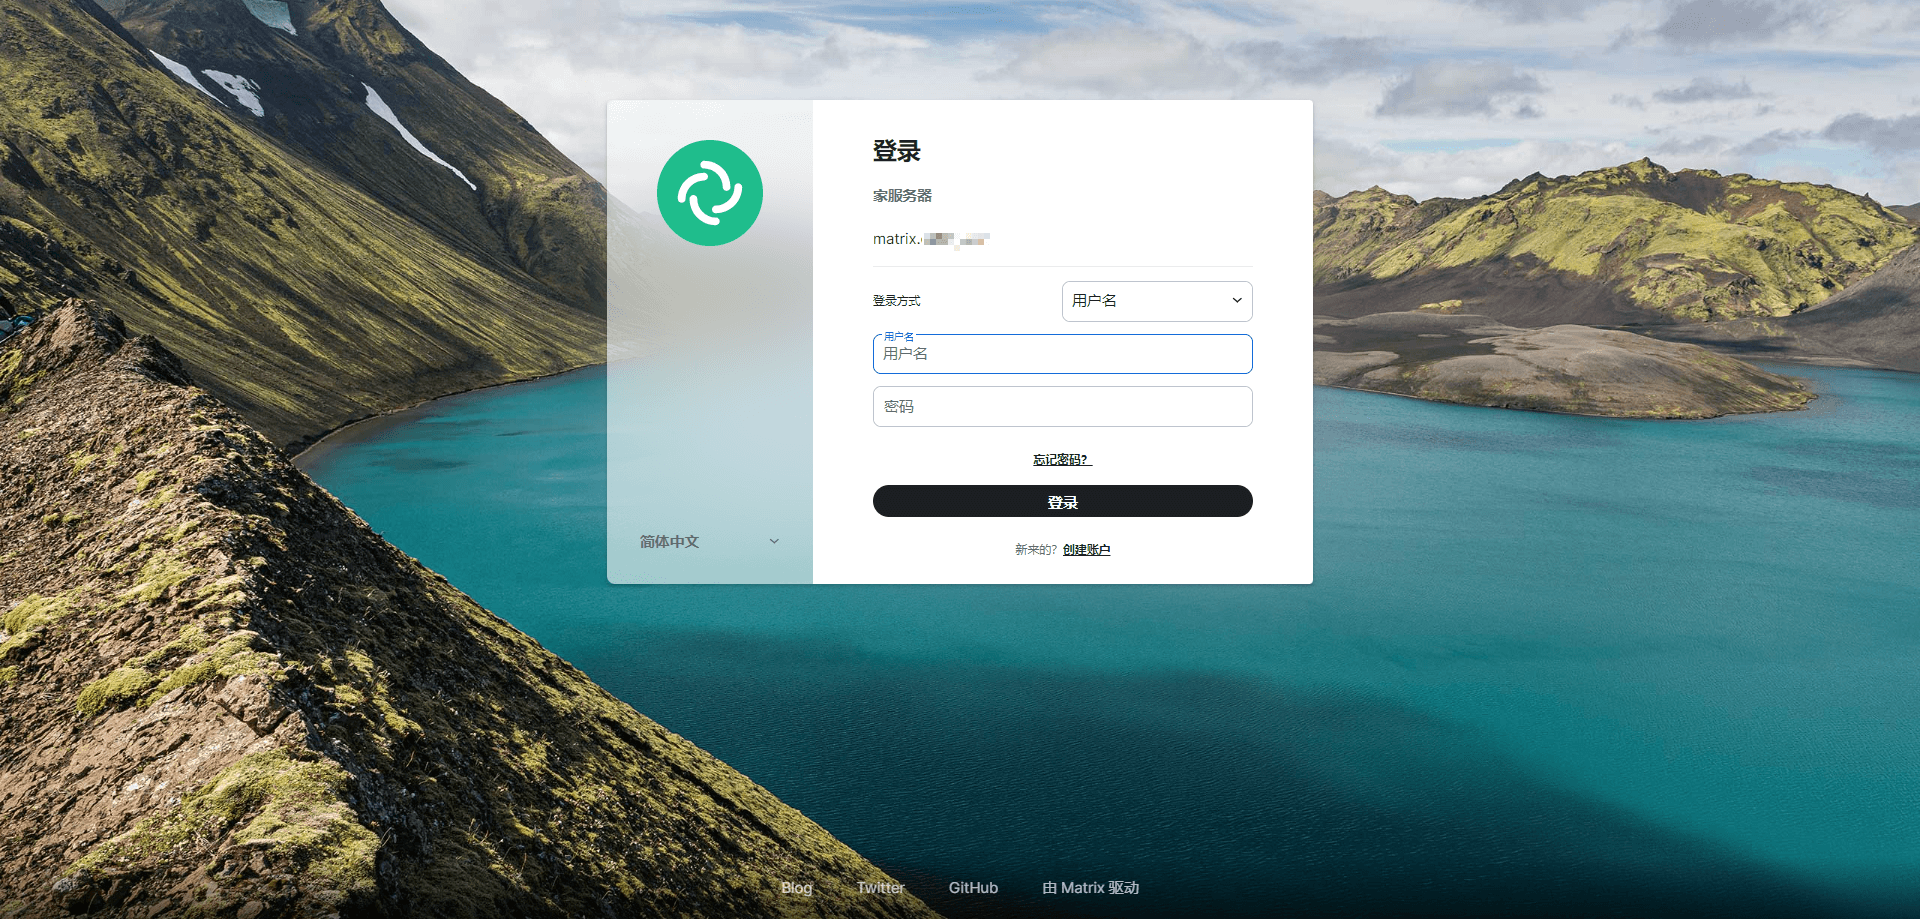 Element登录界面 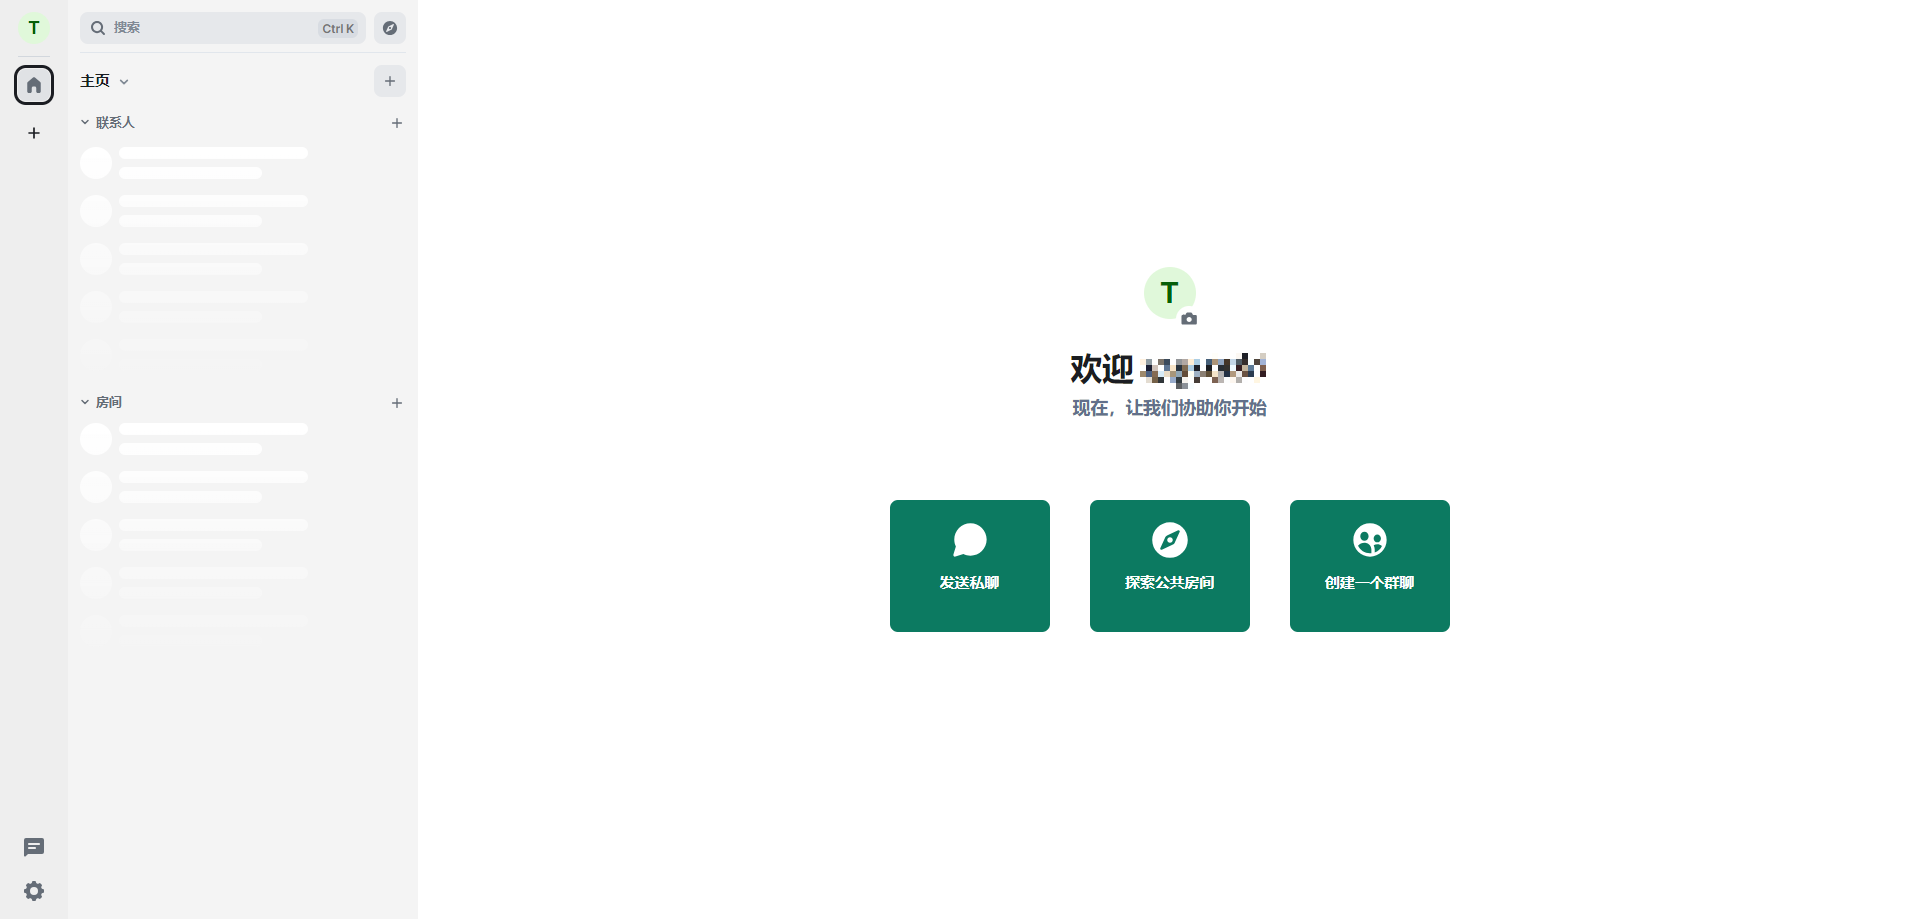 Element客户端界面 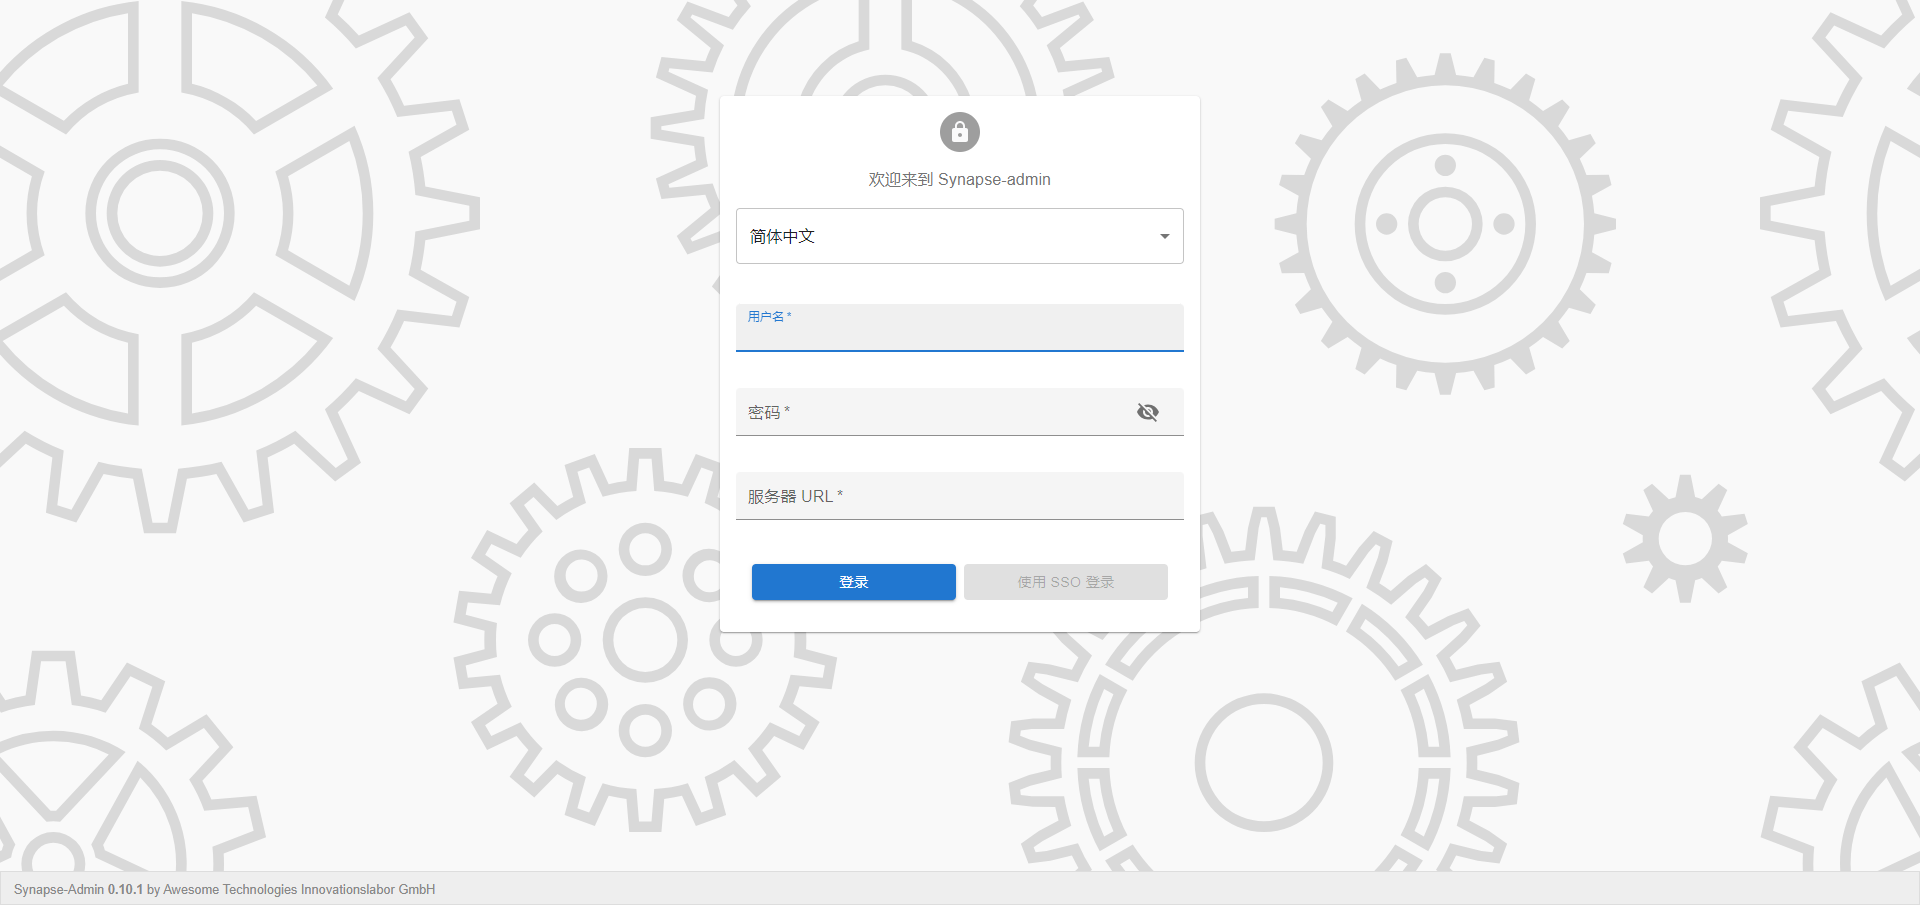 后台管理登录界面  maubot机器人系统管理登录 # 相关地址 * Matrix 官方网站:[https://matrix.org/](https://matrix.org/) * Matrix GitHub官方仓库:[https://github.com/matrix-org/synapse](https://github.com/matrix-org/synapse) * Element 官方网站:[https://element.io/](https://element.io/) * Element 自建GitHub地址:[https://github.com/vector-im/element-web](https://github.com/vector-im/element-web) * 使用 Ansible 和 Docker 设置 Matrix(用于安全、去中心化通信的开放网络)服务器 GitHub地址:[https://github.com/spantaleev/matrix-docker-ansible-deploy](https://github.com/spantaleev/matrix-docker-ansible-deploy) * 使用 Ansible 和 Docker 设置 Matrix 文档:[https://github.com/spantaleev/matrix-docker-ansible-deploy/blob/master/docs/README.md](https://github.com/spantaleev/matrix-docker-ansible-deploy/blob/master/docs/README.md) * # 搭建环境 要使用此 Ansible playbook 安装 Matrix 服务,您需要: #### 1、(推荐)运行使用systemd的操作系统之一的**x86**服务器 本文使用系统为:Debian 12 #### 2、[Python](https://www.python.org/) 本文使用的版本是: ``` ~# python3 --version Python 3.11.2 ``` #### 3、[sudo](https://www.sudo.ws/) ``` ~# apt install sudo ``` #### 4、[Ansible](http://ansible.com/) ``` ~# ansible --version bash: ansible: 未找到命令 ## 如果有内容(版本不能低于:`ansible-core` (`2.11.7`)`ansible` (`4.10.0`)),则跳过下面的安装 ~# apt install ansible ...... ~# ansible --version ansible [core 2.14.3] ``` #### 5、[passlib](https://passlib.readthedocs.io/en/stable/index.html) Python模块 ``` ~# apt install python3-passlib ``` #### 6、[`git`](https://git-scm.com/) ``` ~# apt-get install git ``` #### 7、[`just`](https://github.com/casey/just) **[设置 Prebuilt-MPR](https://docs.makedeb.org/prebuilt-mpr/getting-started/#setting-up-the-repository)** ``` ~# wget -qO - 'https://proget.makedeb.org/debian-feeds/prebuilt-mpr.pub' | gpg --dearmor | sudo tee /usr/share/keyrings/prebuilt-mpr-archive-keyring.gpg 1> /dev/null ~# echo "deb [arch=all,$(dpkg --print-architecture) signed-by=/usr/share/keyrings/prebuilt-mpr-archive-keyring.gpg] https://proget.makedeb.org prebuilt-mpr $(lsb_release -cs)" | sudo tee /etc/apt/sources.list.d/prebuilt-mpr.list ~# sudo apt update ``` 安装 just ``` sudo apt install just ``` #### 8、服务器配置 最低 **1H1G**,如果需要扩展其他组件,则 **2H2G** 起步 #### 9、一个能正常解析的,属于自己的基础域名 举例:`example.com` 10、DNS解析 <div class="tip inlineBlock warning"> 请自行将下方表格里的 `matrix.` 替换为 `matrix.example.com` `example.com`为你的基础域名 </div> | 类型 | 名称 | 优先级 | 权重 | 端口 | 目标 | | ------- | --------------- | ---------- | -------- | ------ | ---------------------------- | | A | `matrix` | - | - | - | `服务器IP地址` | | CNAME | `element` | - | - | - | `matrix.` | 如果你的根域名没有用的话,则将其指向 matrix 服务器 | 类型 | 名称 | 优先级 | 权重 | 端口 | 目标 | | ------- | --------------- | ---------- | -------- | ------ | ---------------------------- | | CNAME | `@` | - | - | - | `matrix.` | 以下为根据自己扩展的组件对应解析域名(**可选**) | 使用的组件 | 类型 | 名称 | 优先级 | 权重 | 端口 | 目标 | | --------------------------------------------------------------------------------------------------------------------------------------------------------------------------------------------------------------------------------------------------------------------------- | ------- | ------------------------------------ | ---------- | -------- | ------ | --------------------------------- | | [ma1sd](https://github.com/spantaleev/matrix-docker-ansible-deploy/blob/master/docs/configuring-playbook-ma1sd.md) identity server | SRV | `_matrix-identity._tcp` | 10 | 0 | 443 | `matrix.` | | [Dimension](https://github.com/spantaleev/matrix-docker-ansible-deploy/blob/master/docs/configuring-playbook-dimension.md) integration server | CNAME | `dimension` | - | - | - | `matrix.` | | [Jitsi](https://github.com/spantaleev/matrix-docker-ansible-deploy/blob/master/docs/configuring-playbook-jitsi.md) video-conferencing platform | CNAME | `jitsi` | - | - | - | `matrix.` | | [Prometheus/Grafana](https://github.com/spantaleev/matrix-docker-ansible-deploy/blob/master/docs/configuring-playbook-prometheus-grafana.md) monitoring system | CNAME | `stats` | - | - | - | `matrix.` | | [Go-NEB](https://github.com/spantaleev/matrix-docker-ansible-deploy/blob/master/docs/configuring-playbook-bot-go-neb.md) bot | CNAME | `goneb` | - | - | - | `matrix.` | | [Sygnal](https://github.com/spantaleev/matrix-docker-ansible-deploy/blob/master/docs/configuring-playbook-sygnal.md) push notification gateway | CNAME | `sygnal` | - | - | - | `matrix.` | | [ntfy](https://github.com/spantaleev/matrix-docker-ansible-deploy/blob/master/docs/configuring-playbook-ntfy.md) push notifications server | CNAME | `ntfy` | - | - | - | `matrix.` | | [Etherpad](https://github.com/spantaleev/matrix-docker-ansible-deploy/blob/master/docs/configuring-playbook-etherpad.md) collaborative text editor | CNAME | `etherpad` | - | - | - | `matrix.` | | [Hydrogen](https://github.com/spantaleev/matrix-docker-ansible-deploy/blob/master/docs/configuring-playbook-client-hydrogen.md) web client | CNAME | `hydrogen` | - | - | - | `matrix.` | | [Cinny](https://github.com/spantaleev/matrix-docker-ansible-deploy/blob/master/docs/configuring-playbook-client-cinny.md) web client | CNAME | `cinny` | - | - | - | `matrix.` | | [SchildiChat](https://github.com/spantaleev/matrix-docker-ansible-deploy/blob/master/docs/configuring-playbook-client-schildichat.md) web client | CNAME | `schildichat` | - | - | - | `matrix.` | | [wsproxy](https://github.com/spantaleev/matrix-docker-ansible-deploy/blob/master/docs/configuring-playbook-bridge-mautrix-wsproxy.md) sms bridge | CNAME | `wsproxy` | - | - | - | `matrix.` | | [Buscarron](https://github.com/spantaleev/matrix-docker-ansible-deploy/blob/master/docs/configuring-playbook-bot-buscarron.md) helpdesk bot | CNAME | `buscarron` | - | - | - | `matrix.` | | [Postmoogle](https://github.com/spantaleev/matrix-docker-ansible-deploy/blob/master/docs/configuring-playbook-bot-postmoogle.md)/[Email2Matrix](https://github.com/spantaleev/matrix-docker-ansible-deploy/blob/master/docs/configuring-playbook-email2matrix.md) email bridges | MX | `matrix` | 10 | 0 | - | `matrix.` | | [Postmoogle](https://github.com/spantaleev/matrix-docker-ansible-deploy/blob/master/docs/configuring-playbook-bot-postmoogle.md) email bridge | TXT | `matrix` | - | - | - | `v=spf1 ip4: -all` | | [Postmoogle](https://github.com/spantaleev/matrix-docker-ansible-deploy/blob/master/docs/configuring-playbook-bot-postmoogle.md) email bridge | TXT | `_dmarc.matrix` | - | - | - | `v=DMARC1; p=quarantine;` | | [Postmoogle](https://github.com/spantaleev/matrix-docker-ansible-deploy/blob/master/docs/configuring-playbook-bot-postmoogle.md) email bridge | TXT | `postmoogle._domainkey.matrix` | - | - | - | get it from `!pm dkim` | #### 10、放行端口 * `80/tcp`: HTTP 网络服务器 * `443/tcp`: HTTPS 网络服务器 * `3478/tcp`:TURN over TCP(由 Coturn 使用) * `3478/udp`:TURN over UDP(由 Coturn 使用) * `5349/tcp`:TURN over TCP(由 Coturn 使用) * `5349/udp`:TURN over UDP(由 Coturn 使用) * `8448/tcp`:Matrix Federation API HTTPS 网络服务器。在某些情况下,**即使禁用联合,这也可能是必要的**。集成服务器(如 Dimension)和身份服务器(如 ma1sd)可能需要访问`openid`联合端口上的 API。 * 范围`49152-49172/udp`:TURN over UDP * 可能还有其他端口,具体取决于您在**配置 playbook**步骤(稍后)中启用的其他(非默认)服务。请参阅每个服务的文档页面来`docs/`了解这一点。 #### 11、安装宝塔(可选,用于方便安装) 这里只列出debian的安装方式,**具体安装步骤请自行百度**: 宝塔官方版(~~推荐~~): ``` wget -O install.sh https://download.bt.cn/install/install-ubuntu_6.0.sh && bash install.sh ed8484bec ``` 宝塔开心版(~~无视风险。继续前行~~): <div class="hideContent">此处内容需要评论回复后(审核通过)方可阅读。</div> #### 12、pwgen(可选,用于生成随机字符) ``` ~# apt install pwgen ``` #### 13、完成上述的环境搭建后即可开始正文.... # 获取代码 ## 使用 git 获取 playbook(推荐) ``` git clone https://github.com/spantaleev/matrix-docker-ansible-deploy.git ``` ## 将 playbook 下载为 ZIP 存档 ``` wget https://github.com/spantaleev/matrix-docker-ansible-deploy/archive/master.zip ``` 然后自行解压一下 ``` ##不确保能用 unzip master.zip ``` # 开始配置 这边建议有装宝塔的直接使用宝塔自带的**终端**和**文件**进行,防止 SSH 因为各种原因断联~~~~ #### 1、进入目录 ``` ~# cd matrix-docker-ansible-deploy ``` #### 2、创建一个目录来保存您的配置: ``` ##将 example.com 替换为自己的域名 ~# mkdir -p inventory/host_vars/matrix.example.com ``` #### 3、复制示例配置文件: ``` ##将 example.com 替换为自己的域名 cp examples/vars.yml inventory/host_vars/matrix.example.com/vars.yml ``` #### 4、修改配置文件 文件位置: ``` ##有宝塔的直接按目录找文件直接打开编辑即可 ##将 example.com 替换为自己的域名 nano /root/matrix-docker-ansible-deploy/inventory/host_vars/matrix.example.com/vars.yml ``` 需要修改的内容如下 --- ``` ##将 example.com 替换为自己的域名 matrix_domain: example.com ``` <div class="tip inlineBlock error"> 温馨提示:请勿直接使用本文内的密钥,请自行生成并填入,此处仅为举例! 因此原因造成的损失,均与本站无关! 本文举例用密钥为:qw8pNT2Jjy5cLUx5KDW1Q4mcPsmbn5XgW5lZepME6BfcC1G2fntpoJ1XtbGajKkK </div> ``` ##终端内容: ~# pwgen -s 64 1 qw8pNT2Jjy5cLUx5KDW1Q4mcPsmbn5XgW5lZepME6BfcC1G2fntpoJ1XtbGajKkK ## 文件内容 matrix_homeserver_generic_secret_key: 'qw8pNT2Jjy5cLUx5KDW1Q4mcPsmbn5XgW5lZepME6BfcC1G2fntpoJ1XtbGajKkK' ``` ``` ##此处用于申请SSL证书时必填的邮箱,如您不需要申请SSL证书可将其删除 devture_traefik_config_certificatesResolvers_acme_email: 'someone@example.com' ``` ``` ##此处为数据库管理员密码,请自行设定,举例123456 devture_postgres_connection_password: '123456' ``` --- 可选添加内容 ``` # 如果你的服务器已经安装 Docker ,一定要添加这个!!! matrix_playbook_docker_installation_enabled: false ``` ``` #如果需要禁止自动申请SSL,请添加该行内容 devture_traefik_config_entrypoint_web_secure_enabled: false ``` ``` #如果不想要其他服务器的人加入自己服务器的房间,则添加该行 matrix_homeserver_federation_enabled: false #如果想要最大限度则添加下面内容 matrix_synapse_federation_port_enabled: false matrix_synapse_reverse_proxy_companion_federation_api_enabled: false ``` ``` #如果想要启用后台管理界面,则添加该内容 #登录地址https://matrix.example.com/synapse-admin/ #界面填写的服务器网址为(如果你没有使用SSL证书,则使用http://matrix.example.com):https://matrix.example.com matrix_synapse_admin_enabled: true ``` ``` #设置 pantalaimon,(E2EE 感知代理守护进程) matrix_pantalaimon_enabled: true ``` ``` #设置 Mautrix Discord 桥接,需要服务器能访问 Discord matrix_mautrix_discord_enabled: true ``` ``` #启用共享秘密身份验证,用于为 BOT 聊天启用端对端加密 matrix_synapse_ext_password_provider_shared_secret_auth_enabled: true matrix_synapse_ext_password_provider_shared_secret_auth_shared_secret: qw8pNT2Jjy5cLUx5KDW1Q4mcPsmbn5XgW5lZepME6BfcC1G2fntpoJ1XtbGajKkK ``` ``` #通过 Mautrix Meta 设置 Instagram 桥接,需要服务器能访问 Instagram matrix_mautrix_meta_instagram_enabled: true ``` ``` #设置 Mautrix Telegram,需要服务器能访问 Telegram # api_id 和 api_hash请自行前往官网获取,网址:https://my.telegram.org/apps,不填会无法安装 matrix_mautrix_telegram_enabled: true matrix_mautrix_telegram_api_id: matrix_mautrix_telegram_api_hash: ``` ``` 设置矩阵注册机器人,好像有问题,我这里无法通过网页注册,你们可以自己试试,不行的话就靠后台界面或者终端添加账号吧...... matrix_bot_matrix_registration_bot_enabled: true matrix_bot_matrix_registration_bot_bot_password: qw8pNT2Jjy5cLUx5KDW1Q4mcPsmbn5XgW5lZepME6BfcC1G2fntpoJ1XtbGajKkK matrix_synapse_enable_registration: true matrix_synapse_registration_requires_token: true ``` ``` #如果你想使用自己的证书,添加下面内容: devture_traefik_config_certificatesResolvers_acme_enabled: false devture_traefik_ssl_dir_enabled: true devture_traefik_configuration_extension_yaml: | providers: file: filename: /config/certificates.yml watch: true aux_file_definitions: - dest: "{{ devture_traefik_ssl_dir_path }}/privkey.pem" src: ../../../SSL/privkey.pem - dest: "{{ devture_traefik_ssl_dir_path }}/cert.pem" src: ../../../SSL/cert.pem - dest: "{{ devture_traefik_config_dir_path }}/certificates.yml" content: | tls: certificates: - certFile: /ssl/cert.pem keyFile: /ssl/privkey.pem stores: default: defaultCertificate: certFile: /ssl/cert.pem keyFile: /ssl/privkey.pem #如果你没有更改 cert.pem 和 privkey.pem 文件的路径,则需要在 matrix-docker-ansible-deploy 目录下新建一个 SSL 目录,并将 cert.pem 和 privkey.pem 两个文件扔进去即可 ``` ``` #如果你想要让此内容自动设置 example.com 的反向代理,则添加这个,并且将 example.com 指向本服务器 #如果 example.com 正在被其他服务使用,则自行添加反向代理,具体请前往官网查看 matrix_static_files_container_labels_base_domain_enabled: true ``` 反向代理配置:[传送门](https://github.com/spantaleev/matrix-docker-ansible-deploy/blob/master/docs/configuring-well-known.md) ``` #如果不想使用默认自带的 element 当作网页客户端的话,请添加这个内容 matrix_client_element_enabled: false ``` ``` #如果想要使用 Cinny 用作网页客户端,请添加这个内容 matrix_client_cinny_enabled: true #如果需要自定义域名,请添加,并替换“web” matrix_server_fqn_cinny: "web.{{ matrix_domain }}" ``` ``` #设置 maubot,基于插件的 Matrix 机器人系统。访问地址:matrix.根域/_matrix/maubot/ #启动成功后,先使用命令创建机器人角色:ansible-playbook -i inventory/hosts setup.yml --extra-vars='username=bot.maubot password=qw8pNT2Jjy5cLUx5KDW1Q4mcPsmbn5XgW5lZepME6BfcC1G2fntpoJ1XtbGajKkK admin=yes' --tags=register-user #插件市场:https://plugins.mau.bot/ matrix_bot_maubot_enabled: true matrix_bot_maubot_admins: - 用户名: 密码(最好使用 pwgen -s 64 1 生成密钥) ``` <div class="tip inlineBlock error"> 温馨提示:请勿直接使用本文内的密钥,请自行生成并填入,此处仅为举例! 因此原因造成的损失,均与本站无关! 使用`pwgen -s 64 1`命令生成密钥 本文举例用密钥为:qw8pNT2Jjy5cLUx5KDW1Q4mcPsmbn5XgW5lZepME6BfcC1G2fntpoJ1XtbGajKkK </div> 完结撒花*★,°*:.☆( ̄▽ ̄)/$:*.°★* 。 --- #### 5、复制清单主机配置文件 ``` cp examples/hosts inventory/hosts ``` #### 6、修改清单主机配置文件 ``` nano /root/matrix-docker-ansible-deploy/inventory/hosts ``` 需要添加的内容: --- ``` #此内容已存在,无需添加 #将 127.0.0.1 替换为本服务器IP ansible_host=127.0.0.1 ``` ``` #指定拥有 passlib 的 python3 执行路径,可自行更改 ansible_python_interpreter=/usr/bin/python3 ``` ``` #指定 ansible 的连接方式 ansible_connection=local #如果你的 ansible 在docker中运行,则使用下面的内容 ansible_connection=community.docker.nsenter ``` --- # 开始安装 这边建议有装宝塔的直接使用宝塔自带的**终端**和**文件**进行,防止 SSH 因为各种原因断联~~~~ #### 1、进入目录 ``` ~# cd matrix-docker-ansible-deploy ``` #### 2、更新此 playbook 中的 Ansible 角色,**每一次更新运行都需要执行此命令!!!** ``` just roles ``` #### 3、开始安装 ``` ansible-playbook -i inventory/hosts setup.yml --tags=install-all,ensure-matrix-users-created,start ``` <div class="tip inlineBlock warning"> 根据服务器配置不同,此过程需要的时间也不相同,请各位耐心等待(如果中途SSH连接断了,则重新把本节命令跑一遍) 如果中间报错了,在修复后也请将本节命令重新跑一边 </div> ``` #执行结果 PLAY RECAP ********************* matrix.example.com : ok=247 changed=18 unreachable=0 failed=0 skipped=347 rescued=0 ignored=0 ``` #### 4、检查服务是否正常 ``` ansible-playbook -i inventory/hosts setup.yml --tags=self-check ``` ``` PLAY RECAP ******************* matrix.example.com : ok=34 changed=0 unreachable=0 failed=0 skipped=25 rescued=0 ignored=1 ``` 如果你出现了下列现象,则为正常: ``` ##这是因为你禁用了服务器联合 TASK [custom/matrix-synapse : Check Matrix Federation API] fatal: [matrix.capiry.fun -> 127.0.0.1]: FAILED! => changed=false ``` 至此算是安装完毕了*★,°*:.☆( ̄▽ ̄)/$:*.°★* 。 # 基础使用教程 #### 1、进入目录 ``` ~# cd matrix-docker-ansible-deploy ``` #### 2、注册管理员(如果要注册普通账户,则将 admin=yes 更改为 no ,如果安装了管理后台,则不需要从这里添加普通用户) ``` ansible-playbook -i inventory/hosts setup.yml --extra-vars='username=用户名 password=密码 admin=yes' --tags=register-user ``` #### 3、如果安装了 maubot,基于插件的 Matrix 机器人系统。 则先执行下面的命令,如果没有安装,则跳过 <div class="tip inlineBlock error"> 温馨提示:请勿直接使用本文内的密钥,请自行生成并填入,此处仅为举例! 因此原因造成的损失,均与本站无关! 使用`pwgen -s 64 1`命令生成密钥 本文举例用密钥为:qw8pNT2Jjy5cLUx5KDW1Q4mcPsmbn5XgW5lZepME6BfcC1G2fntpoJ1XtbGajKkK </div> ``` ansible-playbook -i inventory/hosts setup.yml --extra-vars='username=bot.maubot password=qw8pNT2Jjy5cLUx5KDW1Q4mcPsmbn5XgW5lZepME6BfcC1G2fntpoJ1XtbGajKkK admin=yes' --tags=register-user ``` #### 4、前往管理后台登录 登录地址:https://matrix.example.com/synapse-admin/ 界面上的登录网址请填写:https://matrix.example.com <div class="tip inlineBlock warning"> 如果你没有证书,则将 https:// 替换为 http:// 使用 </div> <div class="tip inlineBlock share"> 进去后会看到已经存在一些用户了,这些是你自己安装的组件自行创建的机器人,不用担心 如果需要联系机器人,则只需在客户端搜索 **用户ID** 即可与机器人发起聊天 </div> #### 5、登录客户端(这里以 **Element** 举例) 登录地址:https://element.example.com 如果安装的是 **Cinny**,则登录地址为: * https://cinny.example.com * https://自定义.example.com <div class="tip inlineBlock warning"> 如果你没有证书,则将 https:// 替换为 http:// 使用 </div> #### 6、登录 **maubot** 管理界面(如果安装了的话) 登录地址:https://matrix.example.com/_matrix/maubot/ 此处的用户名和密码不是你刚才使用命令创建的用户名密码,而是你在配置文件中填写的用户名密码哦! 完结撒花*★,°*:.☆( ̄▽ ̄)/$:*.°★* 。 最后修改:2024 年 05 月 17 日 © 允许规范转载 赞 1 如果觉得我的文章对你有用,请随意赞赏

